What to Specify When Automating a Knife Gate Valve
A knife gate valve may be correctly selected for the media and still cause trouble after automation. The cylinder might not have enough force at the plant’s available air pressure. The valve may move, but its position may not be visible in the control room. Or the assembly may fit the pipeline while leaving too little room to operate or maintain it.
For slurry, sludge, ash, pulp and other demanding media, the valve and its automation package should be specified together. Fluidtecq’s existing knife gate valve selection guide explains how to assess the valve itself. This checklist focuses on the decisions that turn it into an automated assembly.
1. Define the duty before choosing an actuator
Start with what the valve must do in the process. Is it isolating a sludge transfer line, opening an ash discharge point, or operating as part of a sequenced production cycle? How often will it cycle? Must it be operated remotely?
Also confirm the media, solids content, operating pressure and temperature, line size, flow direction and required sealing performance. These conditions affect the force needed to move the gate and the valve construction that the actuator must operate.
A knife gate valve is generally specified for open/closed isolation duty. If the process requires continuous flow regulation, raise that requirement during selection rather than assuming a standard knife gate valve can perform it. Fluidtecq
2. Size the pneumatic cylinder for the actual operating conditions
A cylinder should be matched to the valve’s required operating force, stroke and available compressed-air pressure. Nominal plant air pressure alone may not tell the whole story: the pressure available at the valve during operation is what matters.
When discussing the actuator, provide:
- Valve size and construction
- Process pressure and media
- Expected cycling frequency
- Minimum available air pressure at the installation point
- Space available above and around the valve
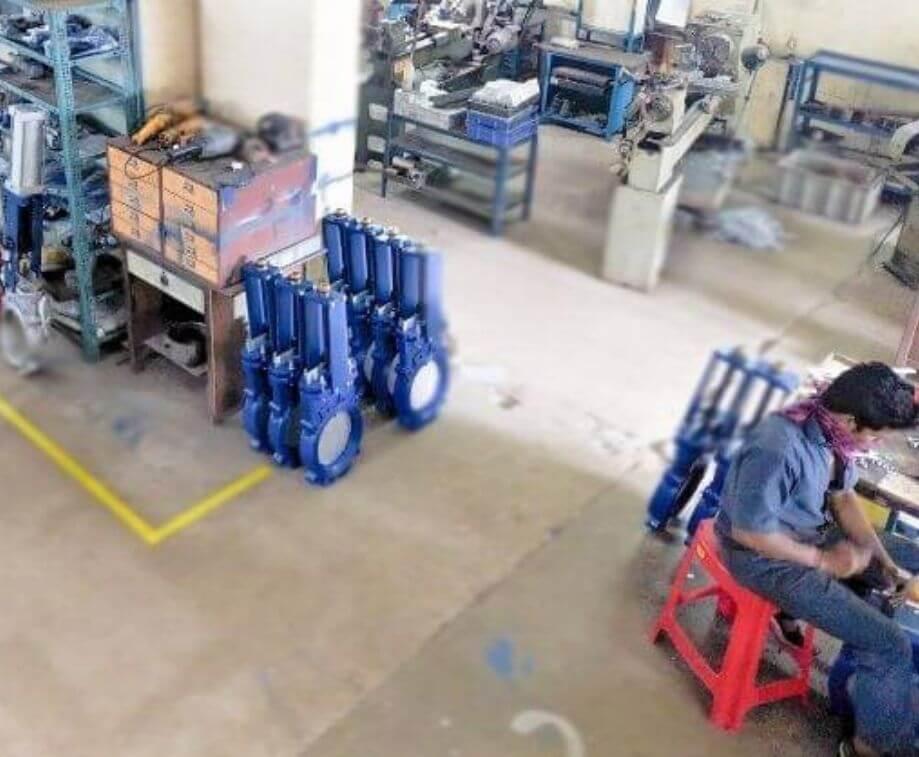
This helps the engineering team select an actuator for the complete duty rather than choosing a cylinder by valve size alone. Fluidtecq offers pneumatic cylinders and complete valve automation packages, including application-specific configurations. Fluidtecq
3. Decide what should happen if air or power is lost
Should the valve move to a defined position when the air supply or electrical command fails, or should it remain in its last position? The answer depends on the process and the plant’s control philosophy.
Specify the required failure response explicitly: fail closed, fail open, or another engineered arrangement appropriate to the installation. Then confirm how the selected actuator, solenoid and air system will achieve it. Do not infer a fail position merely from the words “pneumatic valve.”
4. Specify the solenoid and air preparation
The solenoid valve controls the air sent to the actuator. The specification should identify the electrical supply and control signal, the actuator arrangement, and any requirements arising from the installation environment.
Also review the compressed-air supply and whether an air filter regulator and other air-line components are required. Air quality and pressure at the actuator affect repeatable operation. The valve package should be designed around the plant’s actual utilities and controls.
5. Define the feedback the control room needs
A command to close a valve is not the same thing as confirmation that it reached the closed position. If operators or the PLC need end-position information, include suitable limit switches or proximity feedback in the specification.
State whether the system needs open indication, closed indication, or both, and how those signals will connect to the control system. Position feedback reports the detected position; it does not, by itself, verify leak-tight shutoff. Fluidtecq identifies limit switch boxes and position feedback as parts of its valve automation offering. Fluidtecq
6. Check installation and maintenance access
An automated assembly needs room for the valve, cylinder, accessories, piping and maintenance. Check overhead clearance, mounting orientation, access to the solenoid and switches, and the path needed to remove components for service.
This matters particularly when replacing a manual valve with an automated unit in an existing plant. Share a site drawing or installation photograph early so that any space constraint can be considered before the package is finalized.
7. Agree on the checks before commissioning
Before the valve enters service, confirm how the assembly will be checked for:
- Correct direction and full stroke
- Operation at the specified air pressure
- Required response to loss of air or power
- Open and closed feedback signals
- Control-room or PLC command and indication
- Installation-specific sealing and functional requirements
The acceptance checks should reflect the agreed valve design and the plant’s operating requirements.
A short enquiry checklist
When requesting a pneumatic knife gate valve, send Fluidtecq the media, solids content, line size, pressure, temperature, flow direction, available air pressure, cycling frequency, required fail position and feedback signals. Include an installation drawing or photograph where space is limited.
That information gives the technical team a sound basis to discuss the valve, actuator and accessories as one working assembly.
Planning to automate a knife gate valve? Share your media, pressure, size and control requirements with Fluidtecq’s technical team.
Contact: marketing@fluidtecq.com · +91 73505 40303 Fluidtecq






 by Hemal Mehta